
Configure Royalties
You can only override an NFT smart contract with a royalty configuration if you are the owner of the smart contract. This is required because the owner can call the admin rights functions on the contract.
Intro
When an NFT is sold in a marketplace, a portion of the sale goes to the original creator as royalties. But how does the marketplace know how much to give and where to send it? That's where on-chain royalties come in.
On-chain royalties are built-in royalty settings included in the original token contract. They allow marketplaces to easily determine the correct royalty amount and identify the royalty recipient for any token within that contract.
Royalty Registry
The Royalty Registry has two main goals:
Simplify Royalty Payments for Marketplaces: It helps online marketplaces easily use the correct on-chain royalty configurations for each NFT sold under a contract.
Add Royalty Support to Older Contracts: It allows older smart contracts that didn't originally have royalty features to include them.
Think of the Royalty Registry as a special online tool that stores and manages royalty settings. This tool ensures that artists and creators get paid their fair share when their NFTs are sold. Even if a contract didn't have a way to handle royalties before, the Royalty Registry can add this feature, making it easier for owners to get paid.
👍With Royalty Registry, you can deploy your own on-chain royalty configuration for your old token contracts (provided you are the owner of the smart contract).
Prerequisites
You must be the owner of the smart contract. (you need admin rights)
Your wallet address, which is the owner of the smart contract must be used via Metamask. (you can import your wallet to Metamask if needed)
How to configure ownership when creating an NFT contract?
When creating an NFT contract, supply the owner param in the request body with the value of your public wallet address that will manage the smart contract and receive royalties.
Request Endpoint: reference
HTTP
Request Body:
name
The name of your NFT collection/contract
String
✅
description
The description of your NFT collection/contract
String
✅
image
The image URL for your NFT collection/contract that will be displayed
String
✅
chain
This is the blockchain on which you want to create the contract on
String
✅
externalUrl
This can be any link such as a link to your website, landing page, etc.
String
✅
owner
The wallet address that will have admin access to the contract. The owner can call the admin rights functions on the contract.
String
✅
JSON
Configure royalties on your NFT smart contract
Go to the Royalty Registry Configuration website.
Enter the token contract address to configure.
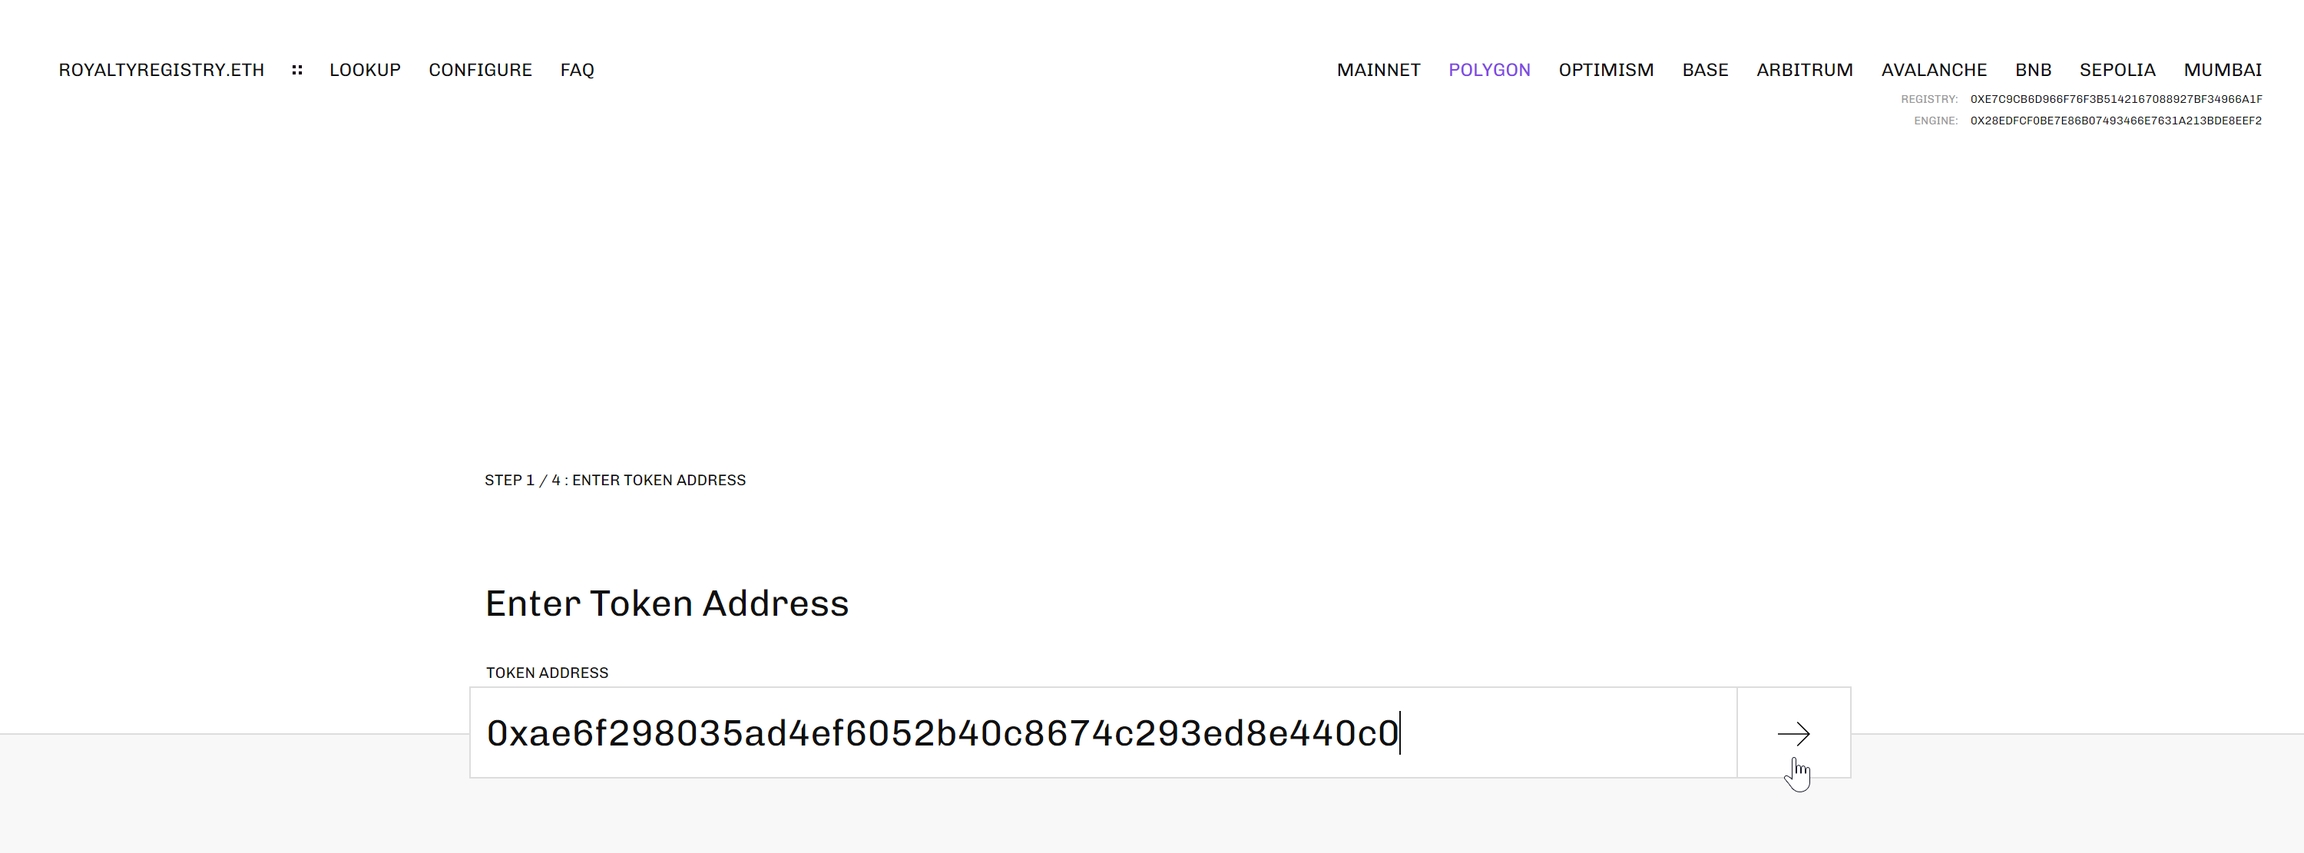
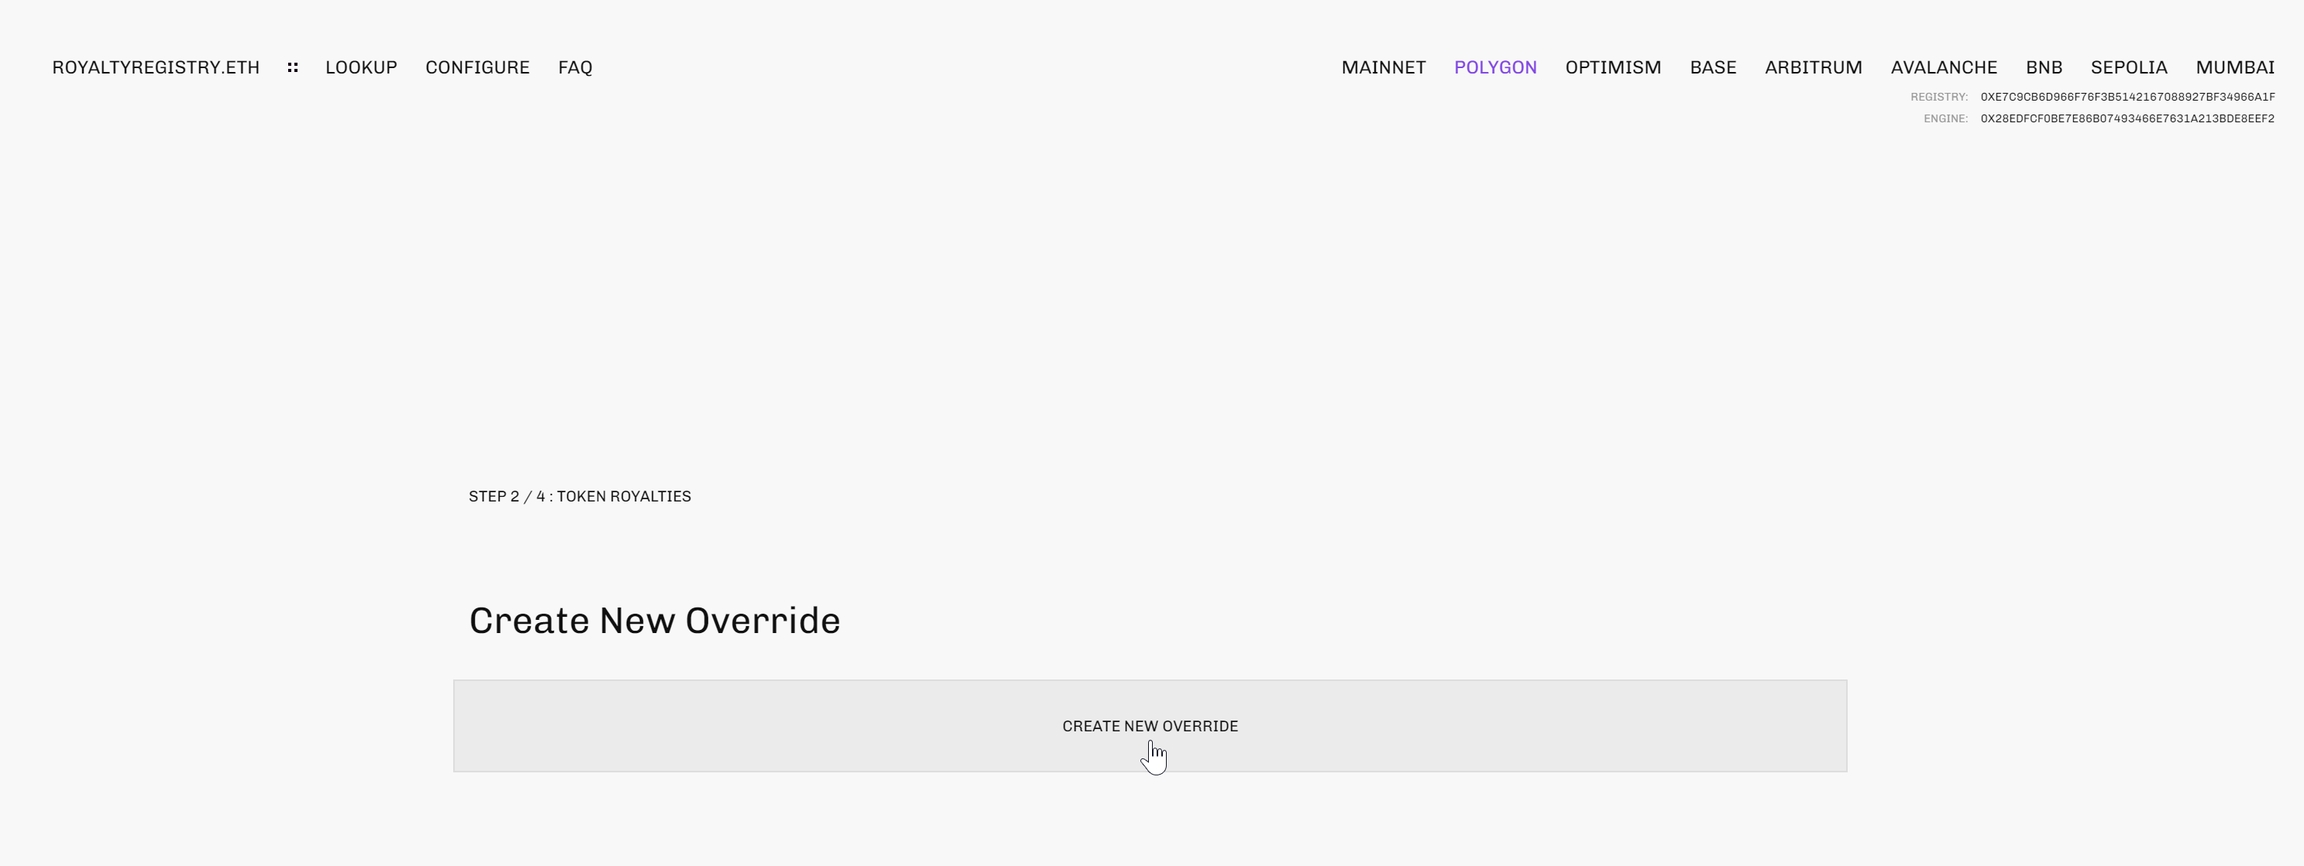
Click on CREATE NEW OVERRIDE.
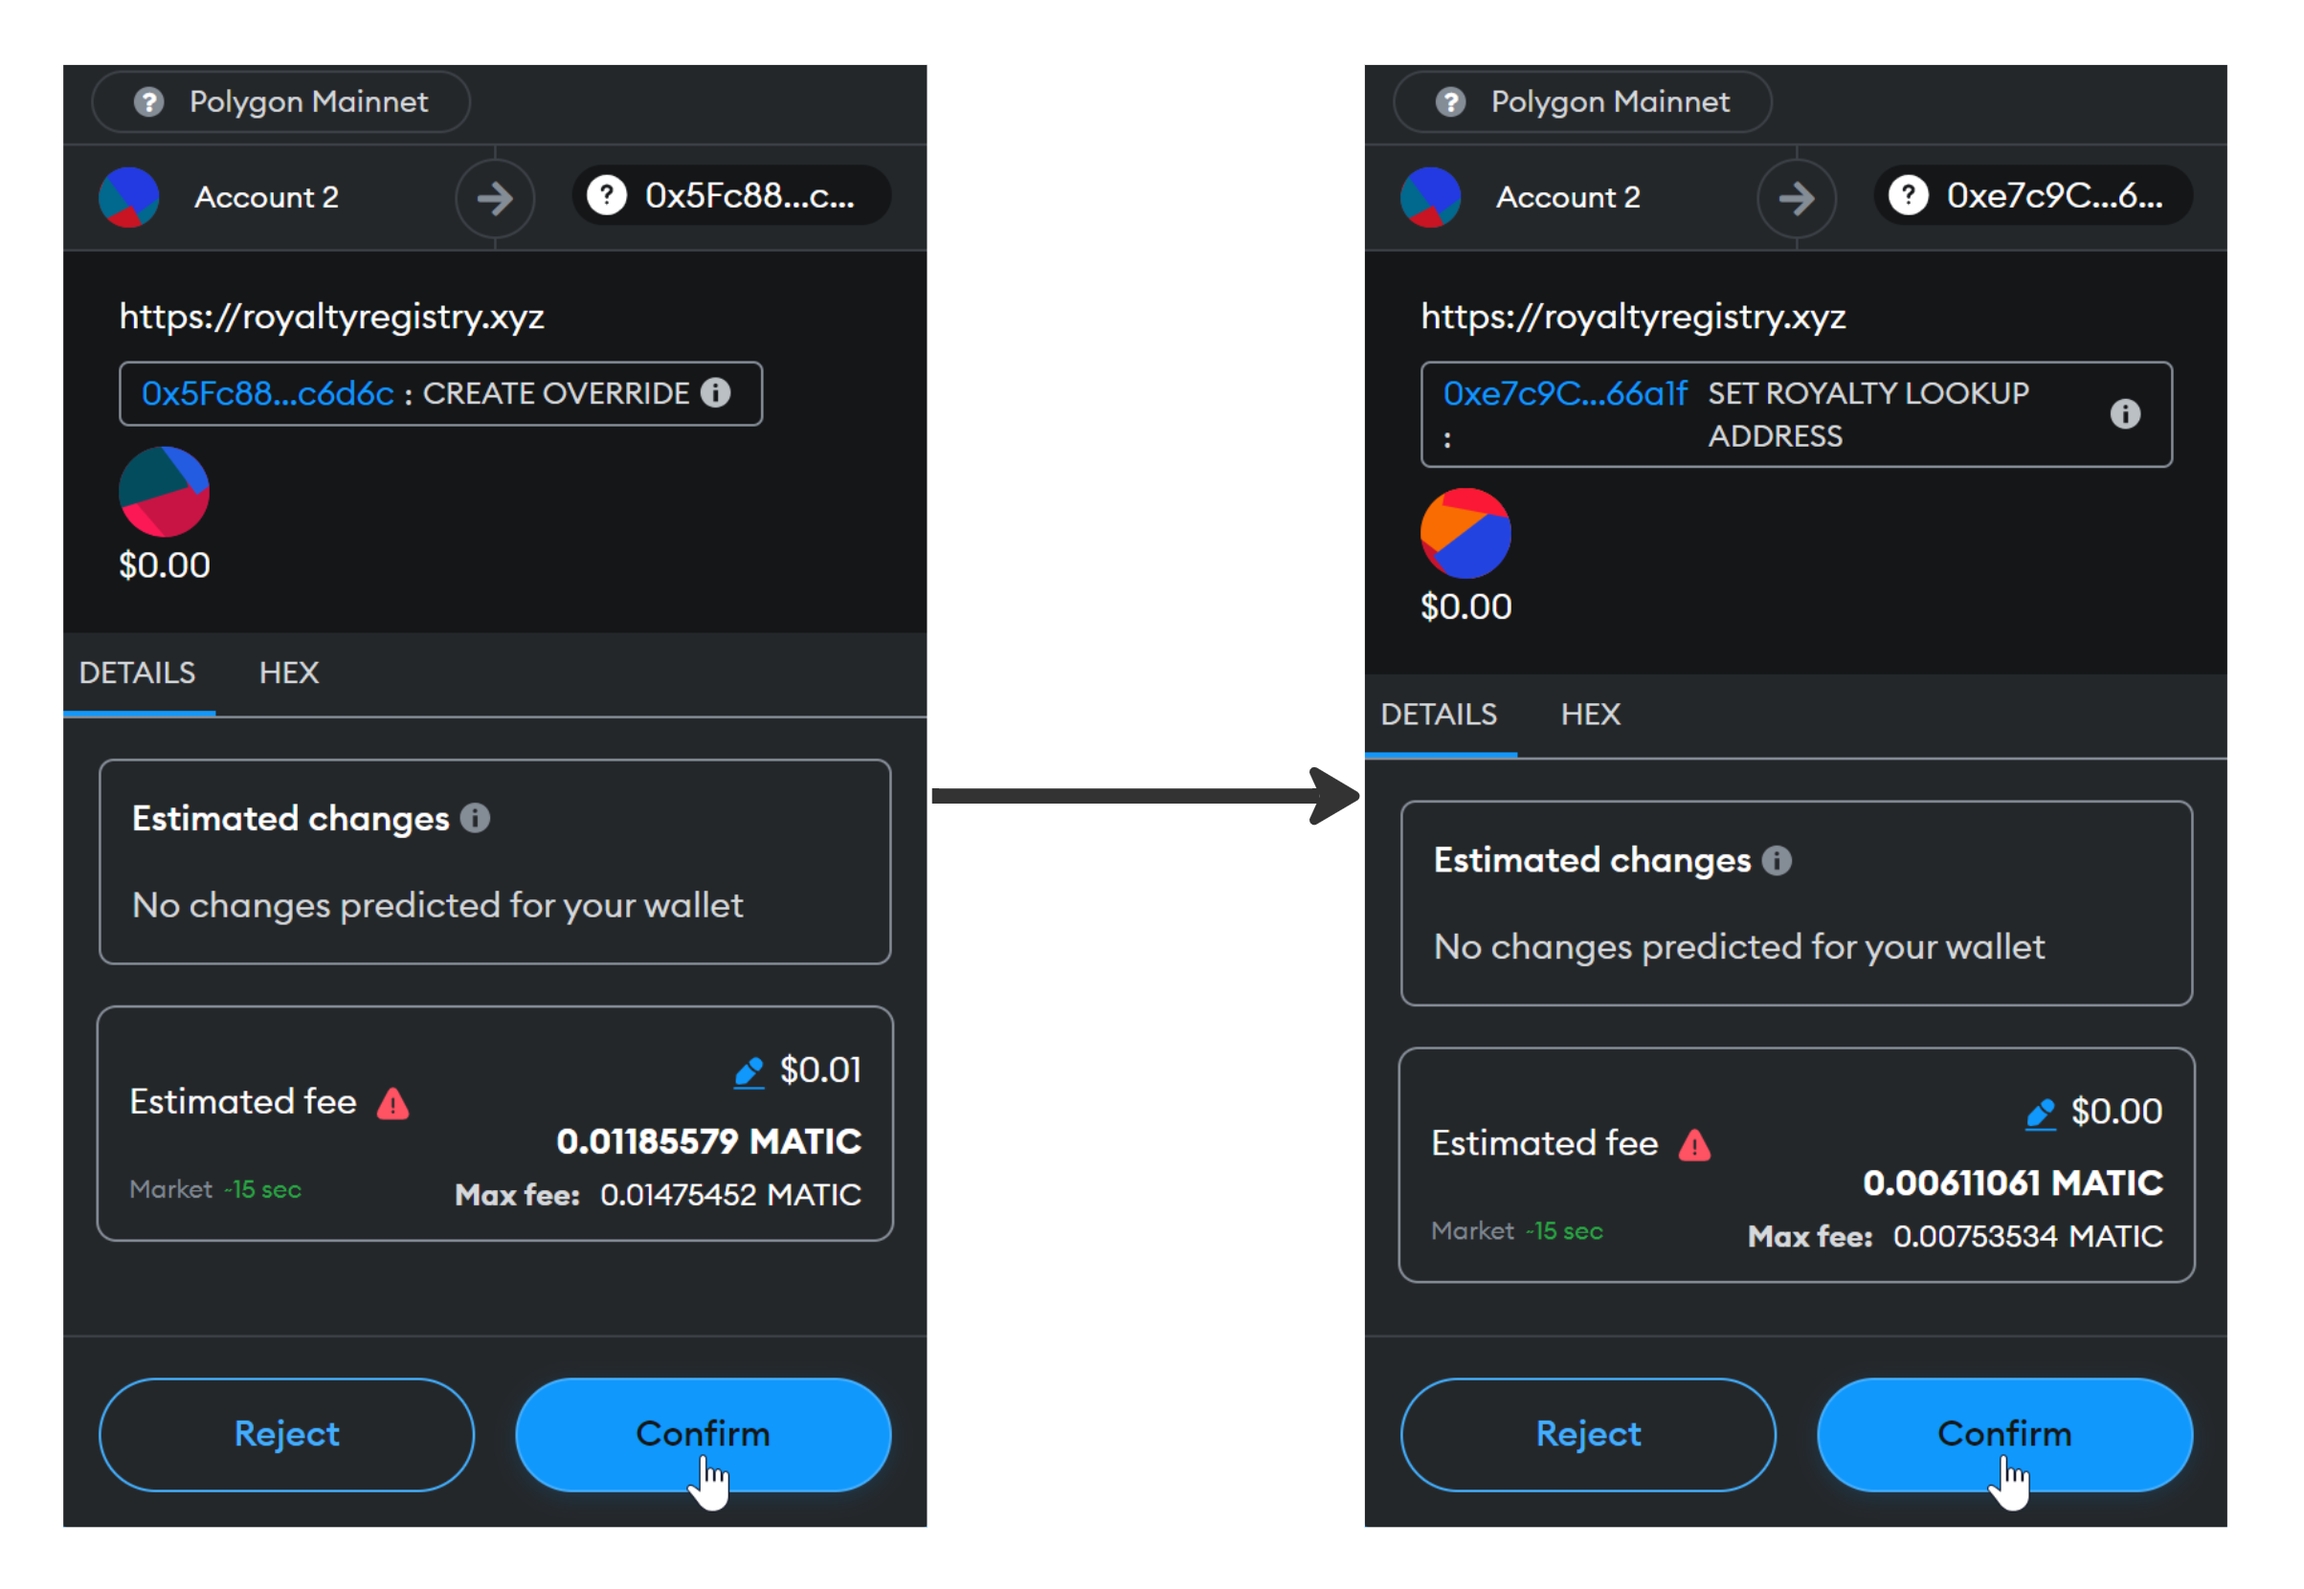
Metamask will pop up asking you to confirm adding the override. Click on Confirm.
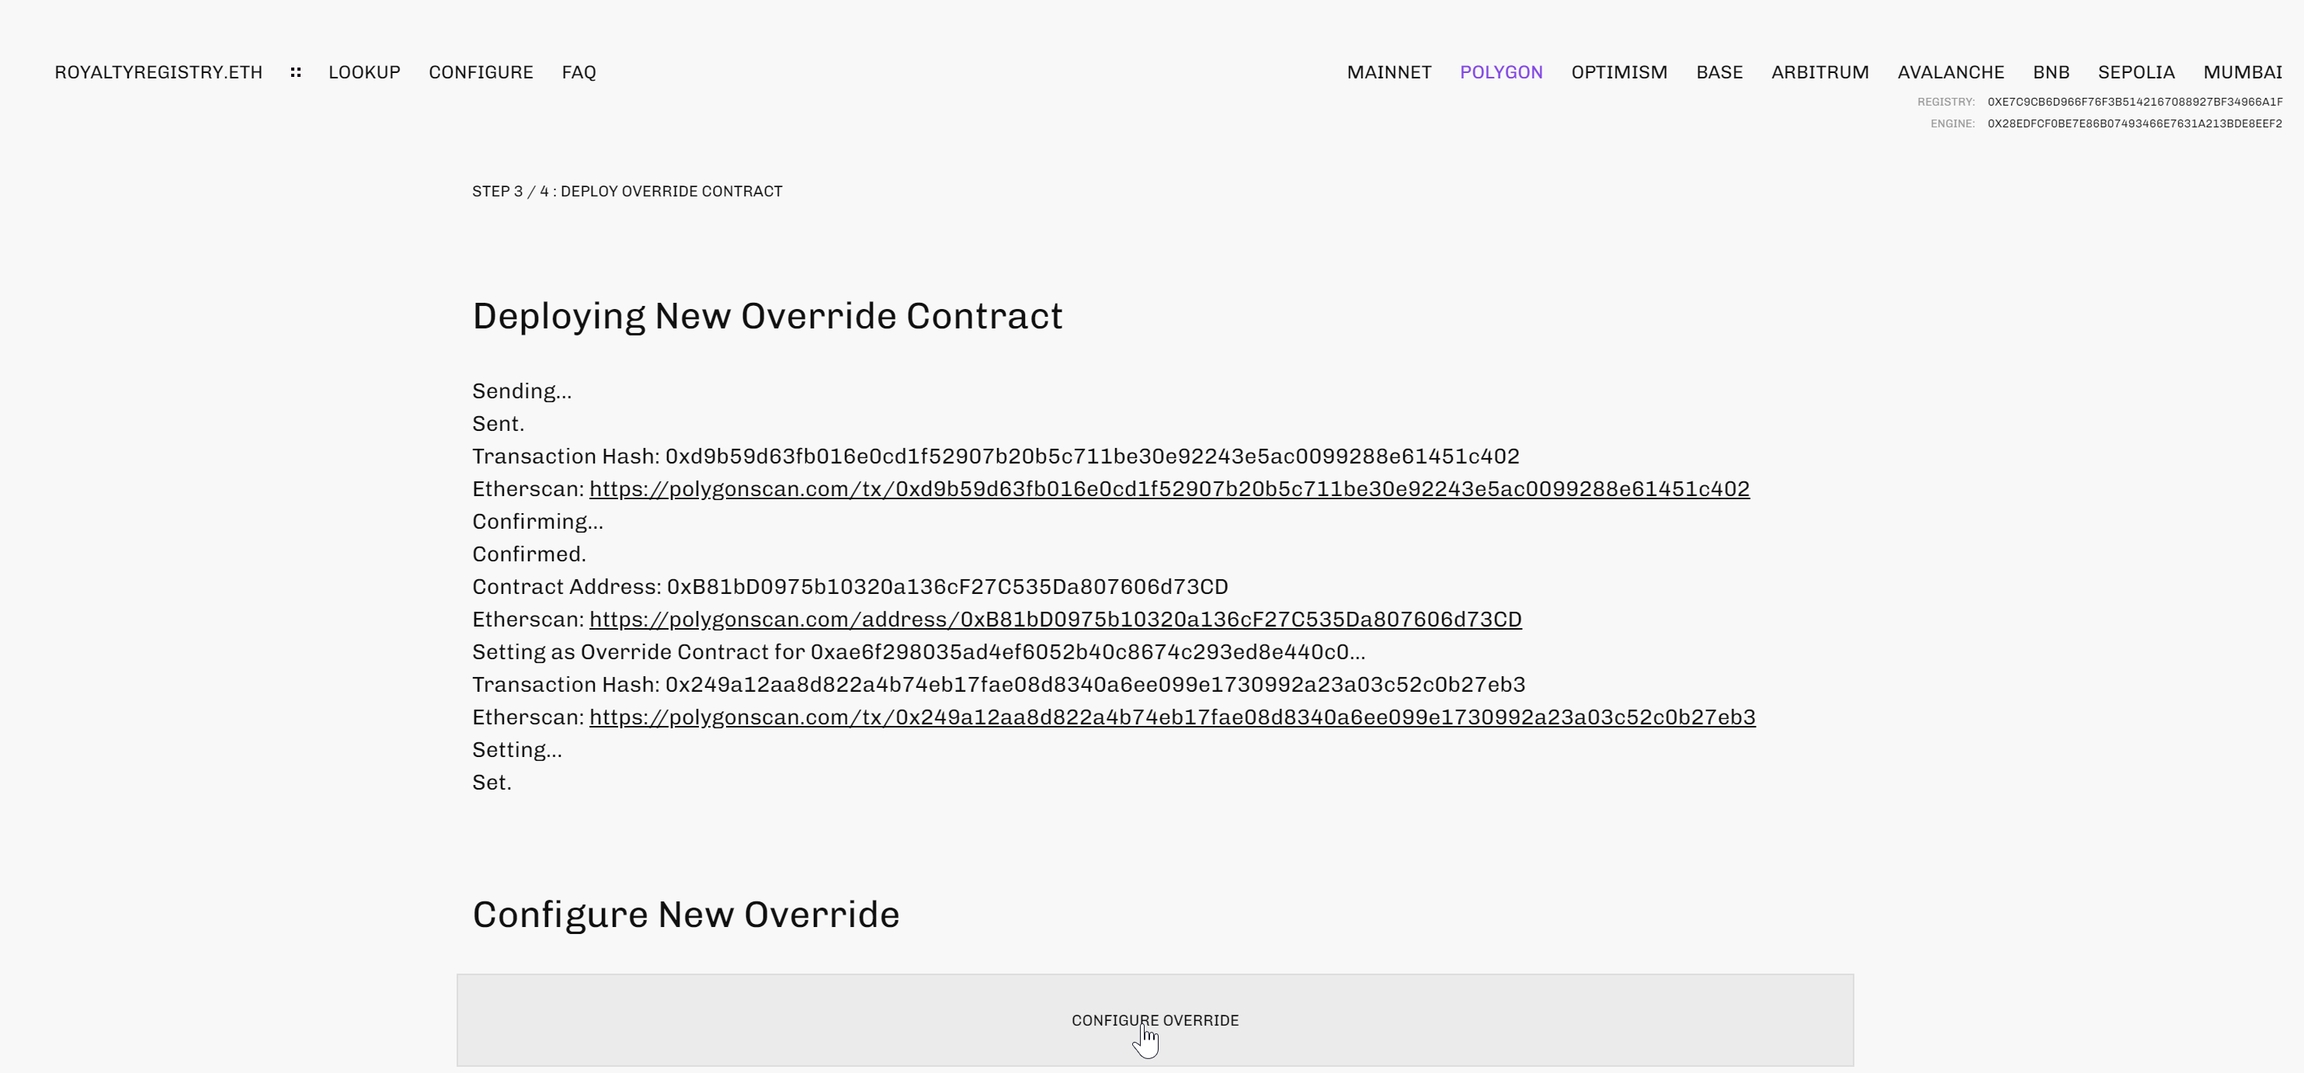
Once you have deployed the override contract, the next step is configuring the new override. Click on CONFIGURE OVERRIDE to continue.
Enter the recipient wallet address where you want the royalties to be transferred. You also need to specify the Royalty Basis Points which represents the percentage of royalties. In this example, we have defined the recipient wallet address with 2000 BPS (20% of each NFT sale under the contract will be royalties). Proceed by clicking on SAVE DEFAULT ROYALTY.
📘Example
1% = 100 BPS
10% = 1000 BPS
25% = 2500 BPS
Read about Basis Points.

Finally, the Metamask pop-up will appear again asking you to confirm the changes.
👍Once done, you'll have successfully overridden the smart contract and saved your royalty configurations.
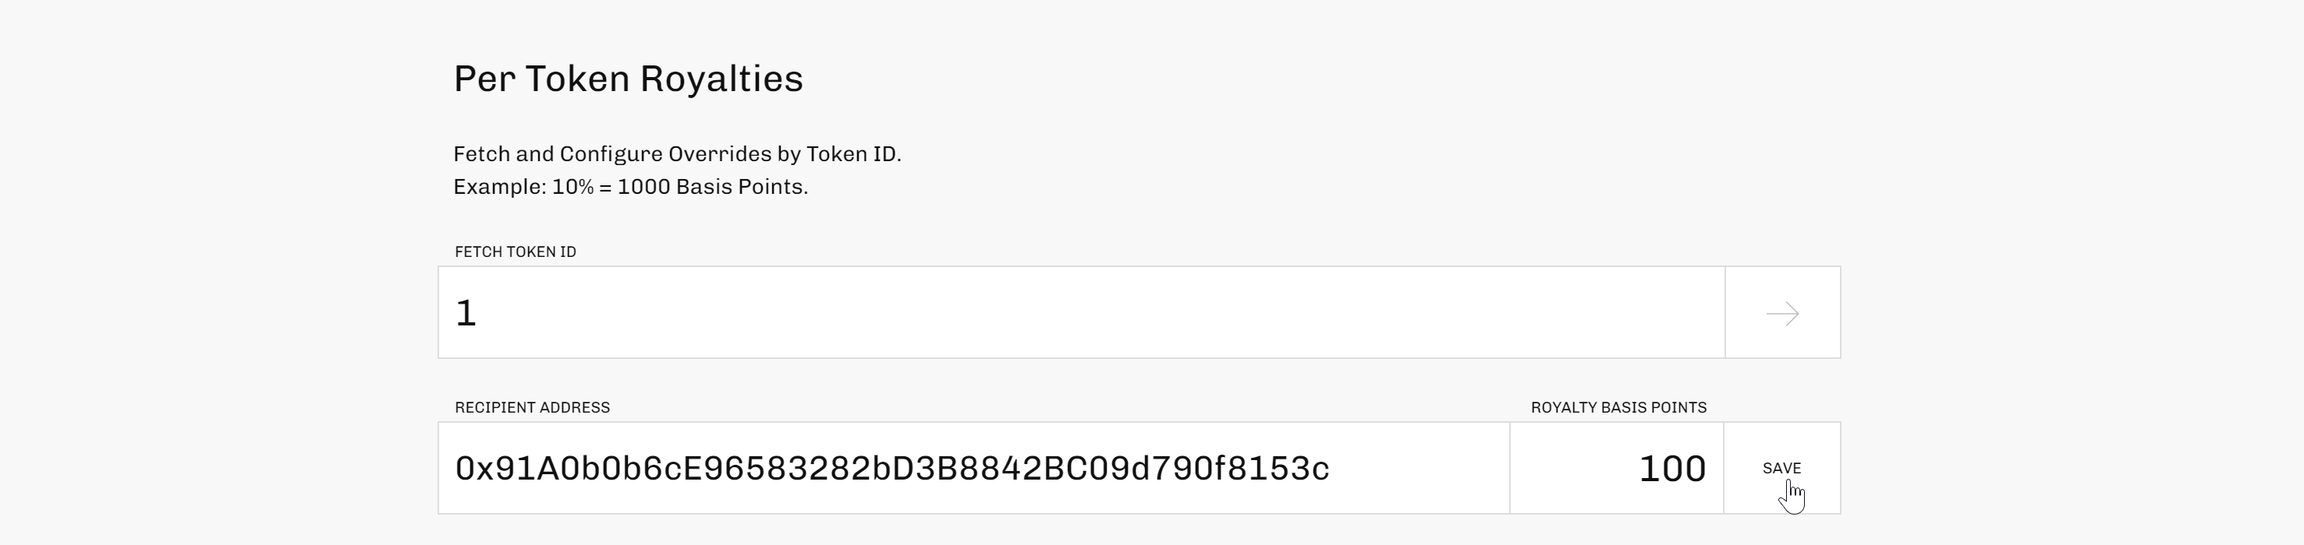
Configure Royalties per Token
Optionally, you can also configure royalties per token based on the token ID. Enter the token ID, the recipient wallet address, and the royalty basis points. Click SAVE, and confirm on the Metamask pop-up to save changes.
Last updated